
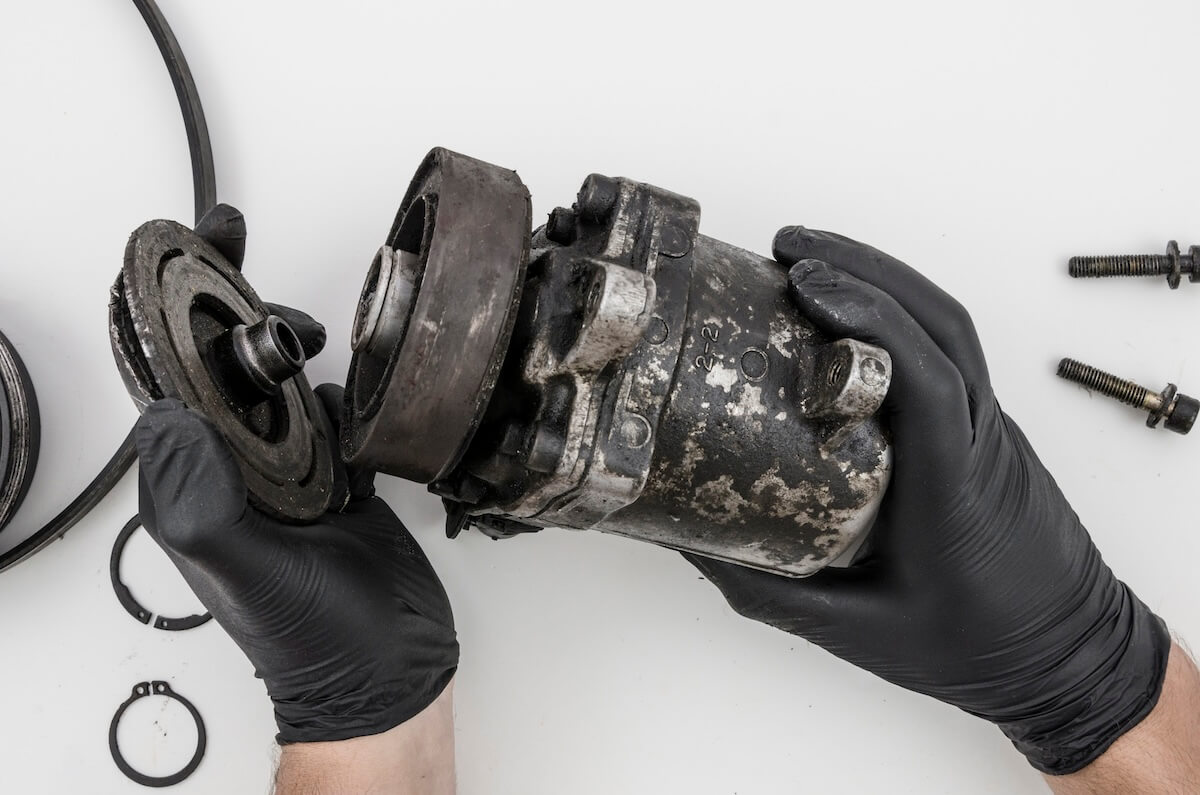
What you should know before cleaning the carburetor
Before you begin the cleaning process, keep the following in mind:- The carburetor is a delicate component and should be handled with care.
- There are two cleaning methods: with and without removing it. Full removal ensures a deeper clean.
- Work in a clean, well-lit environment to avoid introducing dirt or contaminants.
What is a carburetor and how does it work?
A carburetor is responsible for mixing air and fuel in the right proportions for combustion inside the engine. Through a system of valves, jets, and float mechanisms, it regulates the fuel-air mixture based on engine demand.Although fuel injection systems have replaced carburetors in modern vehicles, they are still commonly found in:- Motorcycles
- Classic or vintage cars
- Lawn mowers and garden equipment
- Small agricultural machinery
Why the carburetor gets dirty
Over time, carburetors accumulate dirt, varnish, and carbon deposits due to:- Low-quality or old fuel
- Extended periods of inactivity
- Clogged or damaged air filters
- Fuel evaporation, leaving behind gummy residues
What You’ll need
To clean the carburetor thoroughly and safely, gather the following:- Basic tools (screwdrivers, sockets, pliers)
- Carburetor cleaner spray (professional-grade)
- A container for small parts
- Safety gloves and goggles
- Compressed air (optional but ideal)
- Service manual or diagram of the carburetor model
Contact us!
How to clean the carburetor step by step
Step 1: PREPARE YOUR TOOLS AND THE VEHICLE
- Make sure the engine is cool.
- Disconnect the battery if necessary.
- Work on a clean, stable surface.
Step 2: REMOVE THE CARBURETOR
- Take off any parts obstructing access, such as the air filter housing.
- Disconnect fuel lines, throttle cables, and any vacuum hoses carefully.
- Unscrew the carburetor from the intake manifold.
Step 3: DISASSEMBLE THE CARBURETOR
- Carefully take apart the unit: float bowl, float, jets, gaskets, and other internals.
- Keep the parts in a logical order to simplify reassembly.
- Avoid forcing stuck or corroded parts.
Step 4: CLEAN THE CARBURETOR
- Spray carburetor cleaner on all components, especially the jets, passages, and bowl.
- Let the cleaner sit for a few minutes to break down grime and deposits.
- Use compressed air to blow out tight passages and ensure no debris remains.
- Inspect everything before reassembly.
Step 5: REASSEMBLE THE CARBURETOR
- Rebuild the carburetor, double-checking gaskets and alignment.
- Reinstall it in the engine bay, reconnecting all hoses and lines.
- Start the engine and check for leaks or performance issues.
- Make final adjustments as needed.
Contact us!
Cleaning the carburetor without removing it
If you’re short on time or need a quick maintenance solution, you can clean the carburetor without removing it.How to Clean the Carburetor Easily with a Carb Cleaner Spray
- Start the engine and let it idle.
- Remove the air filter to expose the intake.
- Spray carburetor cleaner directly into the carburetor throat.
- Briefly rev the engine to help the product circulate.
- Repeat as needed to dissolve and remove light buildup.